
What are emails?
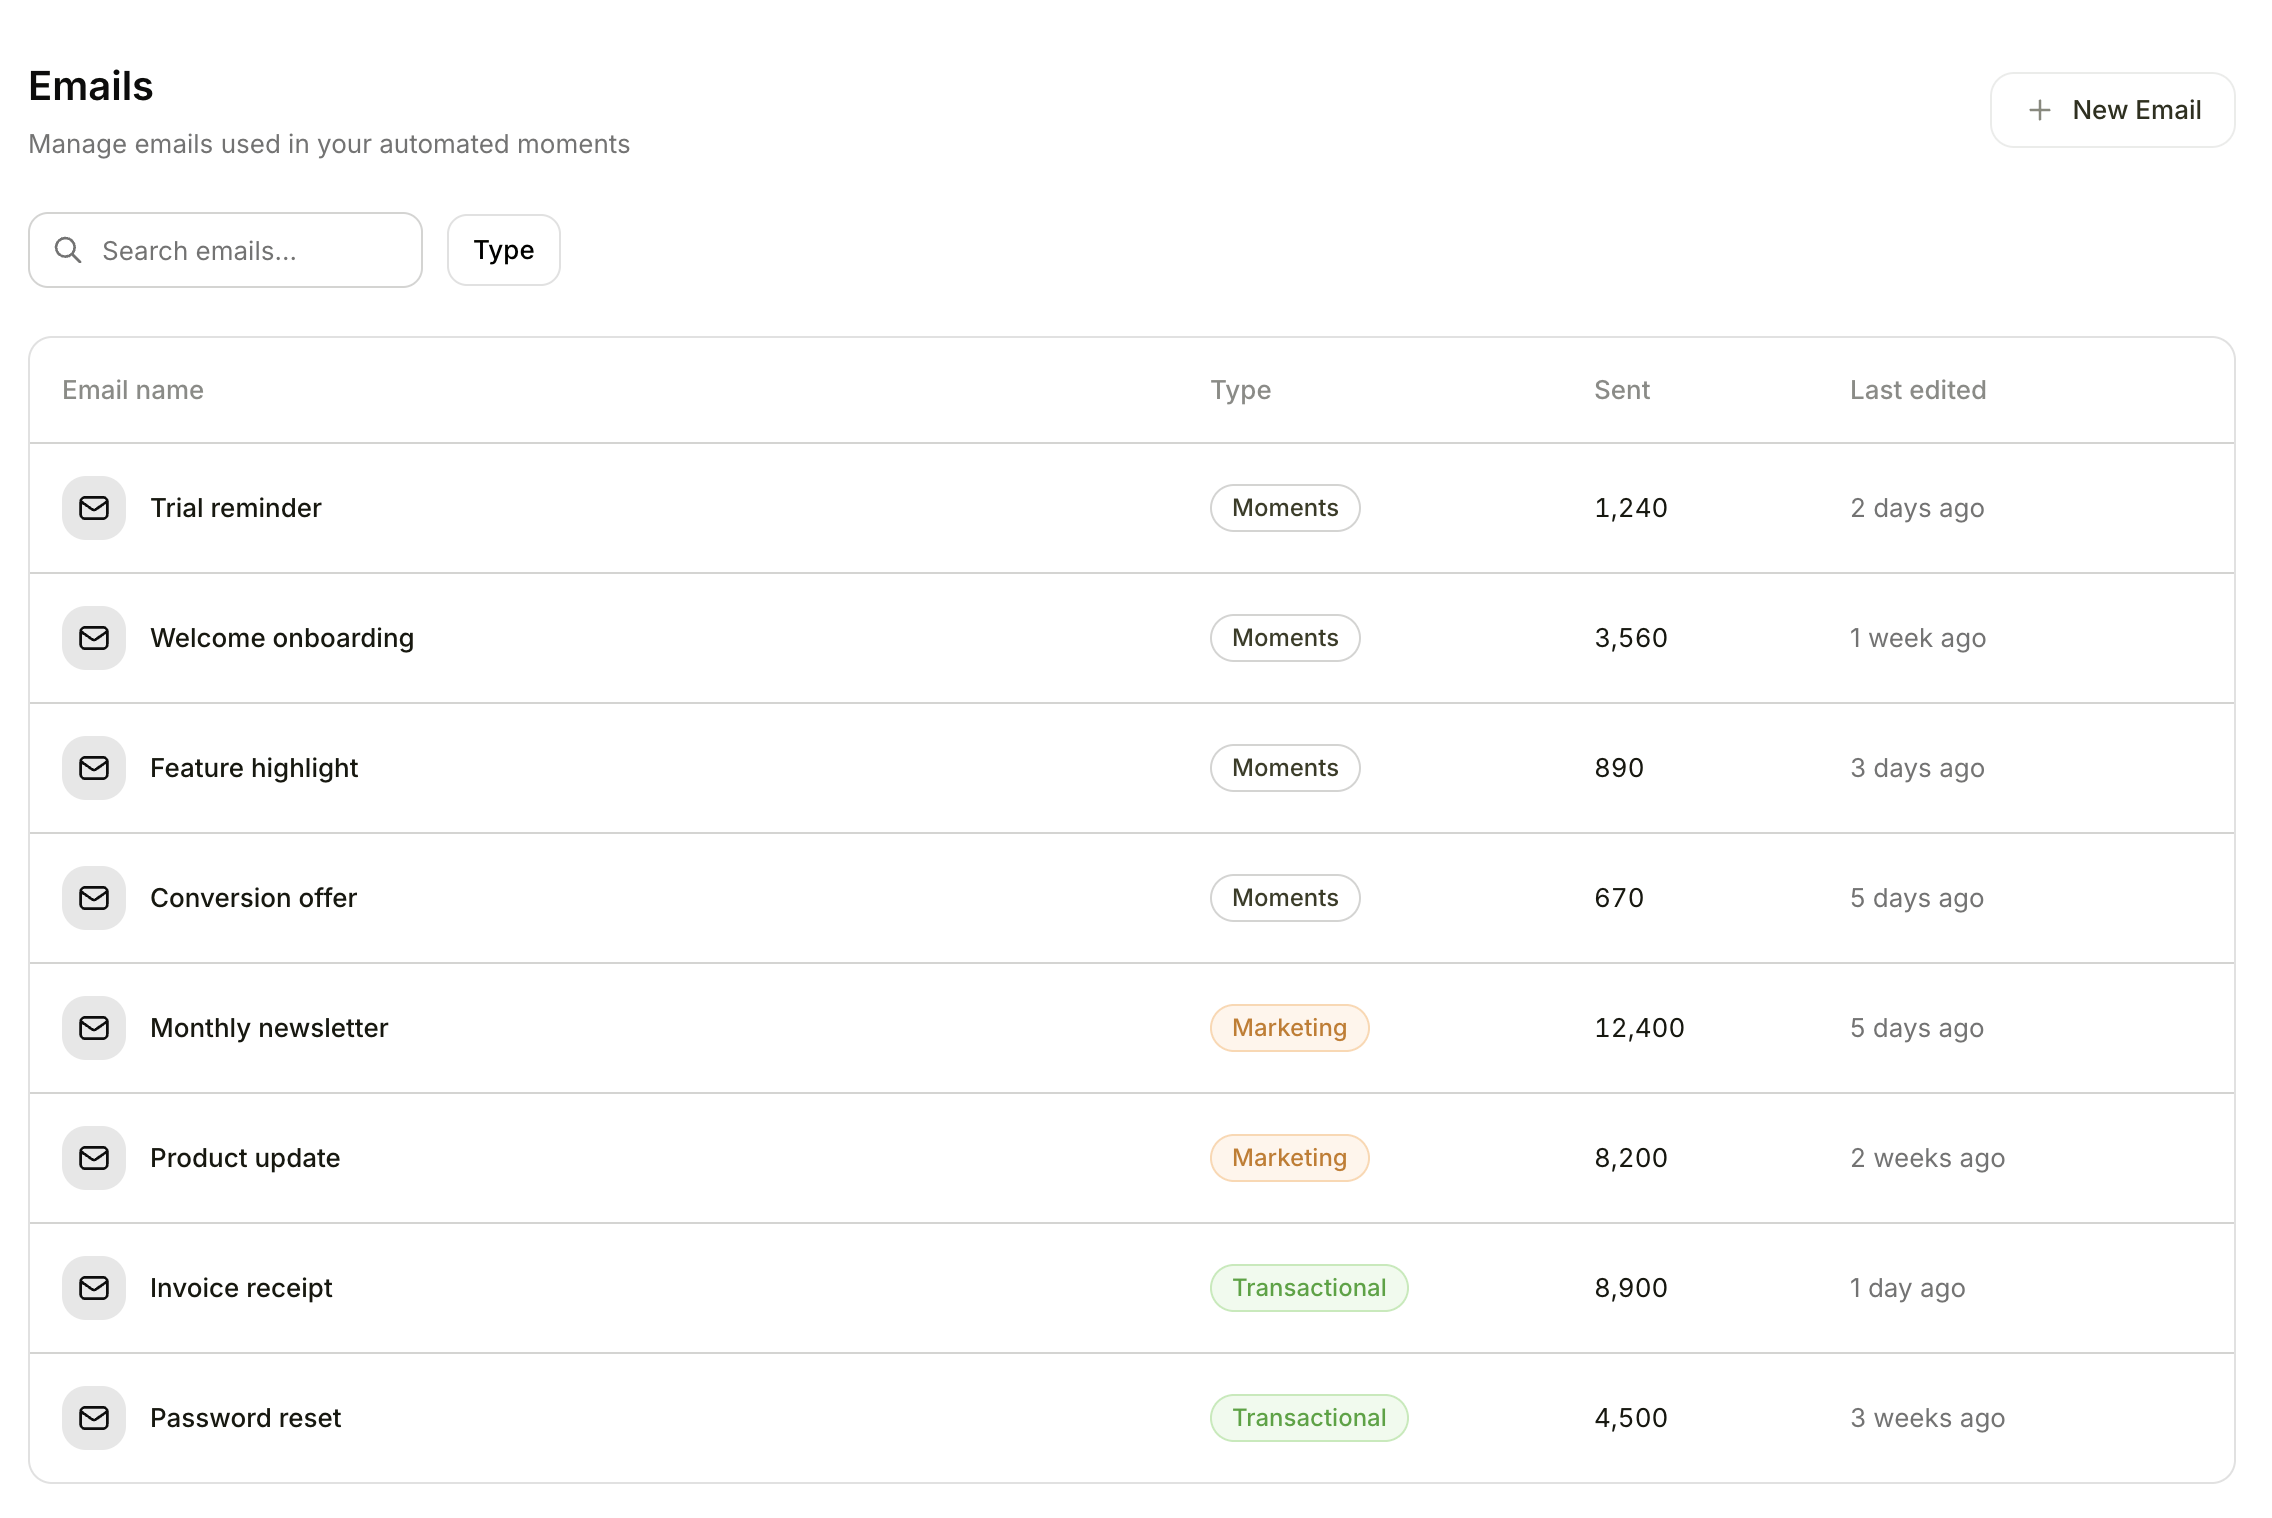
Emails list showing email names, types, sent counts, and last edited dates
Browsing emails
- Click Emails in the top navigation
- Browse all created emails in a list view
- Click any email to view its details and performance
Creating an email
- Click New Email
- Choose a type:
- Enter a name for the email
- Configure the email settings:
- Sender — Select from your configured email senders
- Subject line — Write your subject (supports personalization variables)
- Preheader — The preview text shown in the inbox after the subject
Using the email editor
The visual email editor lets you build professional emails without coding.Adding content blocks
Drag blocks from the left sidebar onto your email canvas. The following blocks are available:- Text — Add paragraphs, headings, or any written content
- Image — Insert photos, logos, or graphics
- Button — Add clickable call-to-action buttons
- Divider — Insert a horizontal line to separate sections
- Spacer — Add vertical spacing between blocks
- Social Links — Display links to your social media profiles
- Navigation Bar — Add a top navigation menu
- Hero — A full-width header with a background image
Editing text
- Double-click any text block to edit it
- Use the formatting toolbar for bold, italic, links, font size, color, and alignment
Adding images
- Drag an Image block onto the canvas
- Upload your image or paste an image URL
- Set alt text and an optional link
Adding buttons
- Drag a Button block onto the canvas
- Set the button text, link URL, and style (color, padding, shape)
Personalization variables
Insert dynamic content into your emails using the variables menu. Variables let you tailor each email to the individual recipient. There are five types of variables:- Custom variables — Variables you define for this specific email
- Recipient variables — Pull from customer data (e.g., first name, company name)
- User variables — Pull from workspace user data
- Content variables — Static values like workspace name or current date
- Sender variables — Sender’s first name and last name
Inserting variables
Variables are inserted through the email editor UI — you do not need to type any syntax manually. When you insert a variable, you can set a fallback value that appears if the variable has no value for a particular recipient. For example, a first name variable with a fallback of “there” would render as “Hi Sarah” when the name is known, or “Hi there” when it is not.Transactional emails have a more limited set of available variables. Only custom, content, and sender variables are available for transactional emails.
Desktop and mobile preview
Toggle between Desktop and Mobile preview to see how your email will look on different devices:- Desktop preview shows at 600px width
- Mobile preview shows at 375px width
Templates
Click the template picker when creating a new email to start with a pre-designed layout. Templates are organized by category:- Activation — Welcome and onboarding emails
- Adoption — Feature discovery and product usage
- Engagement — Re-engagement and activity-based emails
- Monetization — Upgrade prompts and payment-related emails
- Retention — Win-back and churn prevention emails
- Trust — Security, privacy, and account-related emails
- Lifecycle — Milestone and anniversary emails
Sending a test email
Before sending to your audience, you can preview exactly how an email will look in a real inbox:- Open the email you want to test
- Click Send Test
- Choose a recipient email address
- Click Send
Email statistics
Open any sent email to see performance metrics. A line chart shows these metrics over time, and you can use the time range filter to view specific periods.Related features
- Moments use emails as action steps. Create an email template here, then add it as a step in a moment workflow.
- Email Service settings is where you verify your domain and configure senders before sending emails.